I am a member of the Collective Bias® Social Fabric® Community. This shop has been compensated as part of a social shopper amplification for Collective Bias and its advertiser. #ValueCards #CollectiveBias
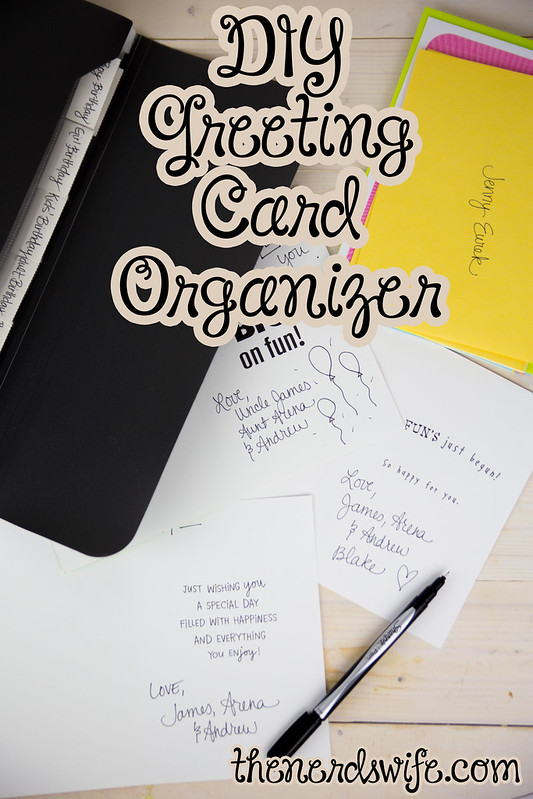
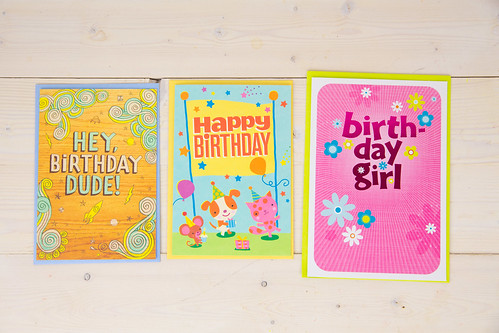
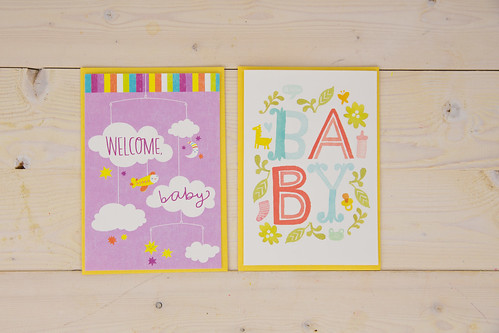
Fall is a busy time in my family with birthdays — we’ve got several a month for the next few months. I’m an avid believer in giving greeting cards for special occasions, so I made this DIY Greeting Card Organizer and filled it with Hallmark Value Cards from Walmart.
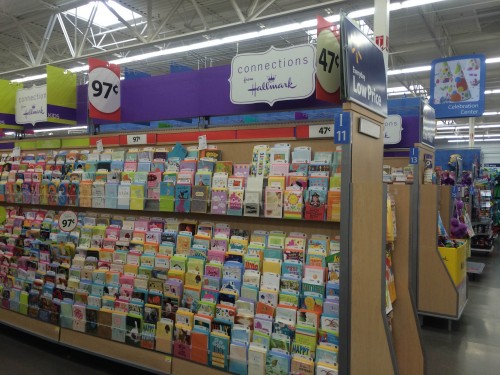
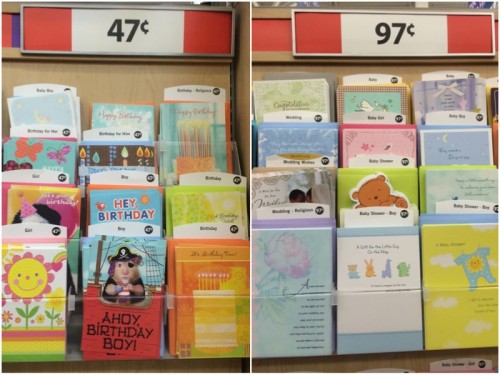
Did you know that you can purchase Hallmark cards at Walmart for 97¢ and 47¢? It’s the perfect way to stock up on greeting cards so you’ll be prepared for any occasion. Plus, you can sign up for the Hallmark Card Rewards Program, which rewards shoppers for purchasing Hallmark cards and can be collected anywhere (but especially at Walmart). For every 5 cards you buy, you’ll earn a reward.
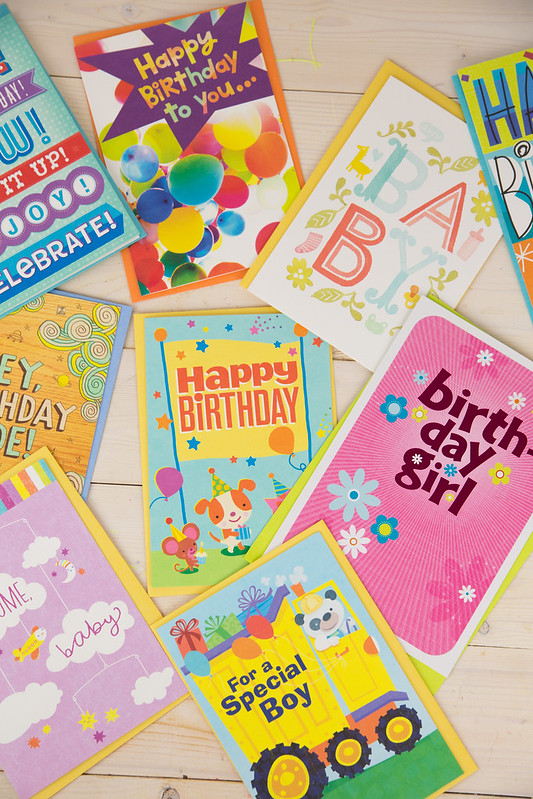
And what do you do with all those Hallmark Value Cards? Make this DIY Greeting Card organizer, of course!
DIY Greeting Card Organizer
Supplies:
Plastic Accordion File Organizer
Decorative Tape
Directions:
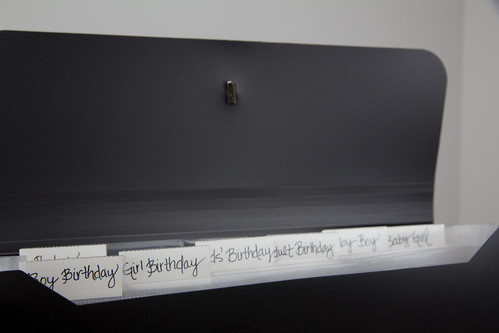
Use the tabs included with the organizer to label different sections. Here are my sections:
- Boy Birthday
- Girl Birthday
- Kids’ Birthday
- Adult Birthday
- Baby Boy
- Baby Girl
- Baby
- Sympathy
- Get Well
- Envelopes
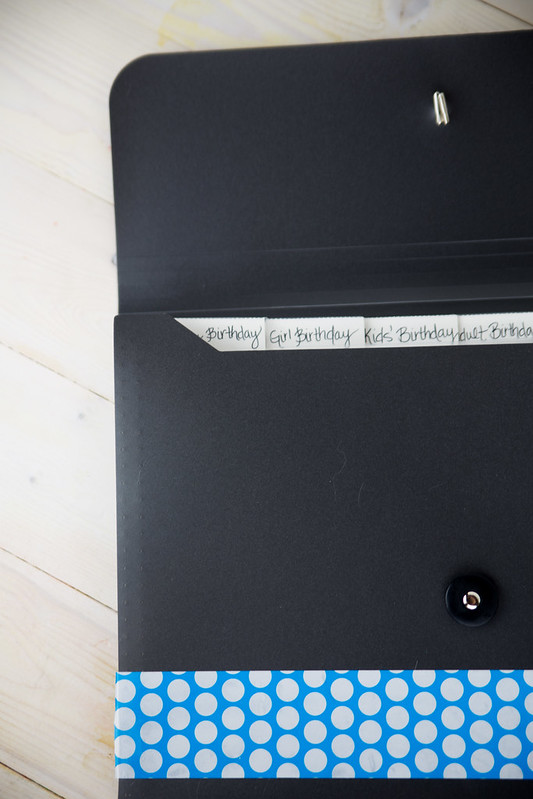
Use the decorative tape to add some flair to the front of the organizer.
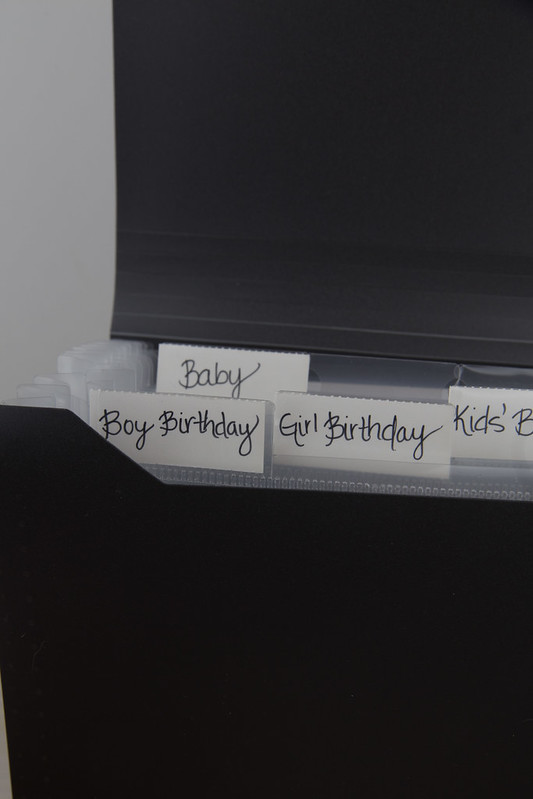
Sort the cards into the different sections. Then, you’re ready to send cards whenever you need to!
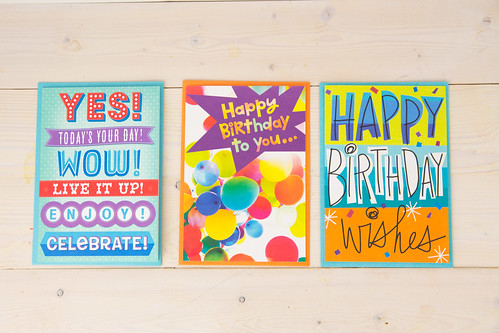
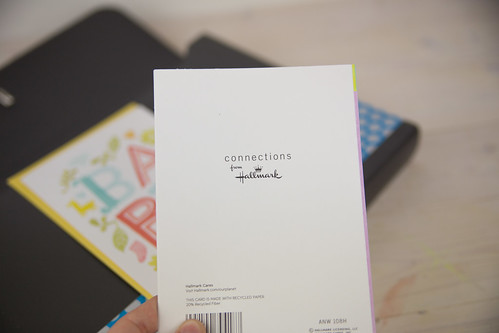
Make sure you check out Connections from Hallmark to sign up for Hallmark Rewards, and to see great content from other bloggers. And join in the #ValueCards conversation on Twitter!
Do you send greeting cards for special occasions?

Such a cute and easy craft and sooo handy to help you remember all those last minute things! #client