
I am a member of the Collective Bias® Social Fabric® Community. This shop has been compensated as part of a social shopper insights study for Collective Bias and their client.
My son is Lightning McQueen’s biggest fan. It started when he met the world-famous race car at Harrods in London. One of his first words was “McQueen.” He can often be seen zooming around our house — Lightning in one hand, Mater in the other — racing in the World Grand Prix.
So I knew that Disney Planes would be another huge hit in our house. We went to see the movie the day it was released. My almost-two-year-old, who finds it difficult to sit still on any occasion, was mesmerized by Dusty Crophopper and his friends.
Due to Andrew’s young age, we’ve held off on purchasing the diecast models of other Disney Pixar Cars toys, but decided to give the Disney Planes diecast figures a try. I’m really glad we did! I picked up a few of them at Walmart, and I was really impressed by the quality of these toys. The propellers and wheels spin — Andrew loves anything that rolls or spins.
They are the perfect size for his little fingers and hands. I think the only time he’s put Dusty down since we came home with him was to sleep. Even then, Dusty was close by.
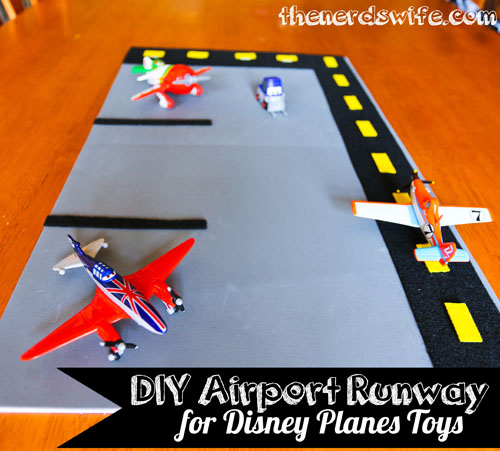
One of Andrew’s favorite things to do with cars — and now planes — is to roll them on the table. So I decided to make a fun little play set for him to use with his new Disney Planes toys.

Here’s what you’ll need for this DIY Airport Runway:
12×18-inch gray foam sheet
12×18-inch mini bi-fold foam board
black felt
yellow felt
adhesive
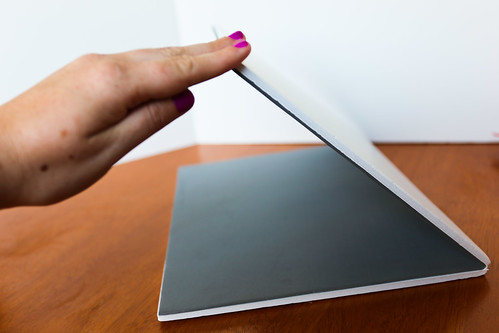
Step 1: Secure the gray foam sheet to the foam board using adhesive. I used some craft glue dots because I had them lying around. The nice thing about this is that it will make your runway studier and the bi-fold foam board allows you to fold up the runway for storage.
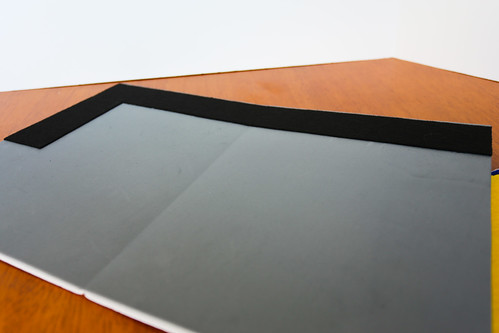
Step 2: Cut the black felt into 2-inch-wide strips. You’ll want one that’s 18 inches long to span the length of the foam board, and one that is 10 inches long to run down the width of the foam board. This will be the runway and taxiing area. Attach them to the foam with adhesive. I used some foam tape for all the foam pieces on my runway.
You’ll also need two more strips of black felt that are 3/8 inch wide and 4.5 inches long. These will be separators for parking spaces at the bottom of the board. Also attach these using the adhesive.
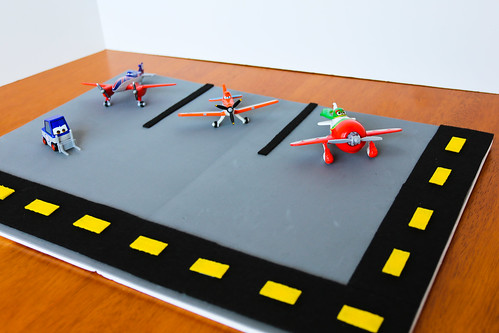
Step 3: Cut the yellow felt into a 1/2-inch-wide strip. You’ll then cut that strip into 12 1-inch long pieces. Attach these lines along the middle of the runway using adhesive.
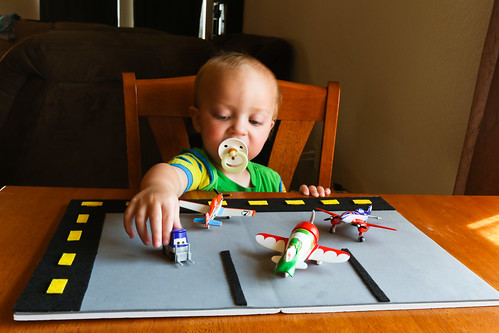
Andrew had so much fun playing with his Disney Planes toys on the runway. Dusty Crophopper seemed to take flight more frequently, while El Chu and Bulldog were parked in their spots at the airport.
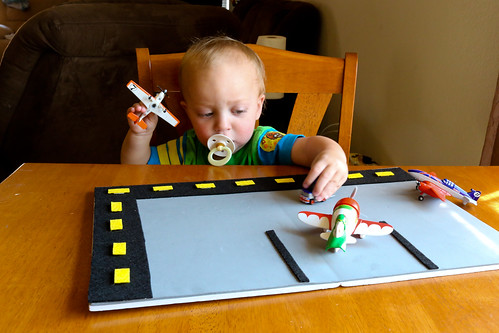
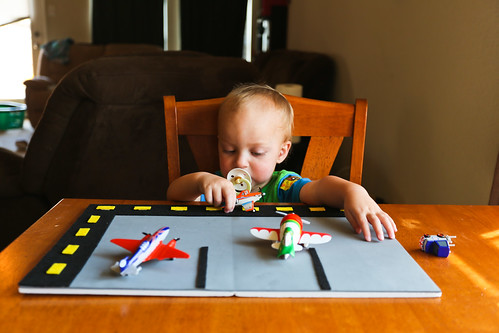
After spending the last few days playing with his new toys, Andrew now has added “El Chu” to his vocabulary. I guess Bulldog will be next!

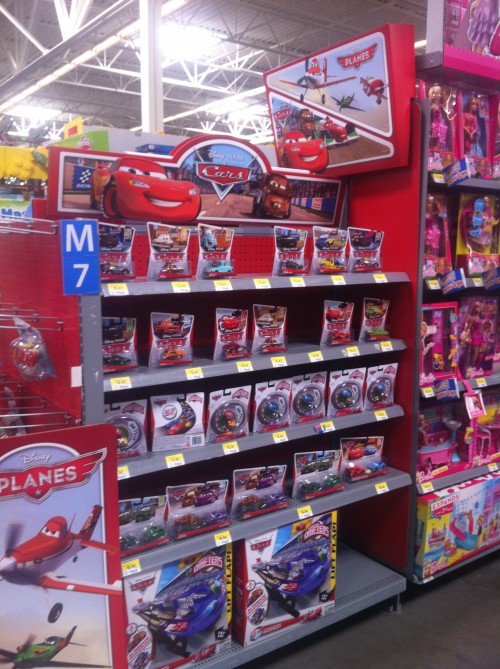
Disney Planes diecast figures are available at your local Walmart. Click here to see my entire shopping trip — including my thoughts on the awesome display — in this Google+ album.

Arena, this is so cute! I love this…even my four-year-old would just love this. I have to take him to go see Planes.
Love this Arena! Such a cute idea – and I so need to take the kids to see this movie!
That is such a massively cute idea! So simple, and adorable!
So cute – love this! Would be awesome for a birthday party too.
Wish my son was still little so we could make it together. Love this and will have to pin it!
How cute. It looks like he is all set for all manner of adventures.
So clever!
You are so creative!!
Oooh!! I LOVE the runway you shared, how cute and easy! Such a great addition to go with your Planes and Cars toys!
Thank you for this. Thats all I can say. You most definitely have made this into something thats eye opening and important. You clearly know so much about the subject, youve covered so many bases. Great stuff from this part of the internet. regards King338
this article is nicely written. it is make supportive to everyone absolutely for utilizes it, including me. keep doing what you are doing and do not pause to write greater posts. this is the treasured help for us. Regards SAKTI55 . thank you very much